Wednesday, August 3, 2011

Spicy Curry Noodle Soup with Chicken and Sweet Potato

taken from Bon Appetite's 2008 Tastes of the World
(I made this soup before the idea of this blog was formed-- so there are no step by step pictures. I wanted to include it because the soup was SO tasty and I loved the colorful presentation!)


Ingredients:
2 T. vegetable oil
3 T. shallots, chopped
3 cloves garlic, chopped
2 T lemongrass, minced (we didn't use, turned out fine)
2 T fresh ginger, peeled and minced
2 T Thai yellow curry paste
2 T curry powder
1 tsp hot chili paste
2 13.5-14 ounce cans coconut milk, unsweetened (comes in low/non fat, too)
5 cups chicken broth
2 1/2 T fish sauce
2 tsp sugar
3 cups snow peas, trimmed
2 cups red-skinned sweet potatoes, peeled and 1/2" cubes
1 pound dried rice vermicelli noodles/rice stick noodles (Thai Kitchen puts out cheap noodles)
3/4 pound boneless chicken thighs (thighs are pretty gross, we used chicken breast)
1/2 cup red onion, thinly sliced
1/4 cup green onion, thinly sliced
1/4 cup cilantro, chopped
3 red Thai bird chilies (or 2 jalapeno chilies)
1 lime, cut into 6 wedges

Instructions:
Heat oil over medium heat in large saucepan or stock pot, add shallots, garlic, lemongrass (if you've got it), and ginger. Stir until fragrant, about 1 minute.

Reduce heat to medium-low. Stir in curry paste, curry powder, and chili paste. Add 1/2 cup of the coconut milk (the thick liquid from the top of the can) and stir until thick and fragrant, about 2 minutes.

Add the rest of the coconut milk, broth, fish sauce, and sugar. Bring to a boil. Keep warm.

Cook snow peas in boiling salt water until bright green (just about 20 seconds). Remove peas with a strainer and rinse under cold water to cool and prevent from over-cooking.

Using same boiling water pot, add sweet potatoes and cook until tender, about 7 minutes. Remove potatoes with a strainer and rinse under cold water.

Using same boiling water pot, boil and cook noodles until tender but till firm to bite, about 6 minutes.  Drain and rinse noodles under cold water. (If cooking instructions on back of noodle's package are different, follow the package instructions!)

Return to your warm broth, bringing it to a simmer. Add chicken pieces and simmer until cooked, about 10 minutes.

Add sweet potato to broth and stir to heat, about 1 minute.

Divide cooked noodles into individual serving bowls.  Divide snow peas and hot soup among bowls, placing on top of the noodles. Scatter the red onions, green onions, cilantro, and chilies over soup. Garnish with lime wedges and serve.


How we do frosting in my family

I feel lucky to have shared Christmas celebrations with a variety of wonderful family and friends-- wonderful company, quirky traditions, and always delicious food.  It seems like every family has a specific style of sugar cookie frosting...and I haven't found any that I enjoy as much as the glaze-frosting I grew up with!

It's not exactly Christmas time; we were in a July heat wave with an 110 degree heat index when I whipped these up.  I found the perfect cookie cutters for a summer weekend at the cabin and couldn't resist.

Ingredients:
Powdered sugar
Half and Half
Vanilla
Food coloring
Sprinkles/cookie decorations


I opted for cookie decorating at my parents house: central air AND a big, sunny kitchen. Perfect! (I'll post another picture soon with our cute, galley kitchen that accommodates 1 1/2 people at a time.)


Instructions:
In a medium mixing bowl, pour a mountain of powdered sugar. Slowly add half and half, starting very conservatively in adding less liquid than you need.  I've always been amazed at how little liquid it takes to cut through powdered sugar!
 Stir in the half and half completely.
 Too runny?  Add more powdered sugar.  Too thick? Add (a little) more half and half.
 You'll want the glaze-frosting to flow off the spoon, not glob off in chunks, but at the same time it needs to be thick enough to leave the spoon well coated.  If the frosting is too thin, it will run right off your cookies.
 Once you've got the consistency down, add a drop or two of vanilla and stir well. (Warning: vanilla will slightly color your white frosting-- if you want the pure-white color, don't bother with the frosting flavoring.)
 Next, pour your white frosting into separate bowls, one for each color you want to frost with. Keep in mind you may want to keep some in your mixing bowl so that you can frost with white frosting.
 Drop 2-3 drops of food coloring in each of your separate bowls...
 ...Mix well, and you're ready to go!  (When I was growing up, we always had popsicle sticks around the house. Frosting with popsicle sticks works very well in that the sticks are light enough the frosting holds them in the bowls, where as with heavy table knives...well, let's just say it gets messy.)
 Turns boring sugar cookies into...colorful, delicious treats!

 Loons and bears...forgot to get pictures of the moose shape, too.  Thanks to my husband for the surprise extra birthday gift of summer time shapes cookie cutters!

The Ole Stomping Grounds

About 48 hours spread over 3 days is all we could afford for a mid-summer escape to the north woods. After arriving late evening, we spent the early morning taking in our 40 acres in Bayfield county (and for my husband to get a collection of June berries-- which are beautiful but not my favorite flavor).  We explored new wild blueberry picking grounds along an old forest service road and picked nearly a gallon-sized bucket of huge, wild blueberries.  Lunch was breakfast-style at our favorite (the only, really) Delta, WI establishment: the Delta Diner.  We wrapped up the adventures with a brief stop into camp to chat with Mike and look for friends before heading south again.

Starting in urban Seattle, then moving to rural northern Wisconsin to small-town northern Wisconsin I have experienced life in a variety of settings, dabbled in living locals you could say. Back in Minneapolis now, my husband and I have had a few conversations about what sort of place we can see ourselves settling down in. Before I moved from small-town Wisconsin, I was pretty confident that urban was my setting.  Now that we've returned to urban life, I could see myself being content with a rural or semi-rural home. Perhaps this is "greener grass" syndrome, but I think it's just an instance of having my dreams clarified. Who knows where we'll end up. Right now, we're very flexible in that we're renting in Minneapolis at least until I'm through with my school program. After that, who knows.  It's nice to not have things set in stone, to not be painted into a corner.  Some days, when I spend time with folks who are established in home, career, activities, etc. I'm envious of their security.  For right now, though, I'm grateful for the open canvas that is our future.
What could, one day, be our driveway
On what could, one day, be our street
June berries that grow here-- not as good as wild raspberries, but not terrible
The view across the street

Wild blueberry-picking, one of my very favorite summertime activities, was very rewarding this year. We found a huge patch that seemed to have endless, large wild berries-- so much so that we picked for over 2 hours in one setting!


These beauties have already been used in breakfast for a week and in a dessert or two.  Not to mention the bags that were frozen to take us through the winter.  Yay for wild berries!


Tuesday, August 2, 2011

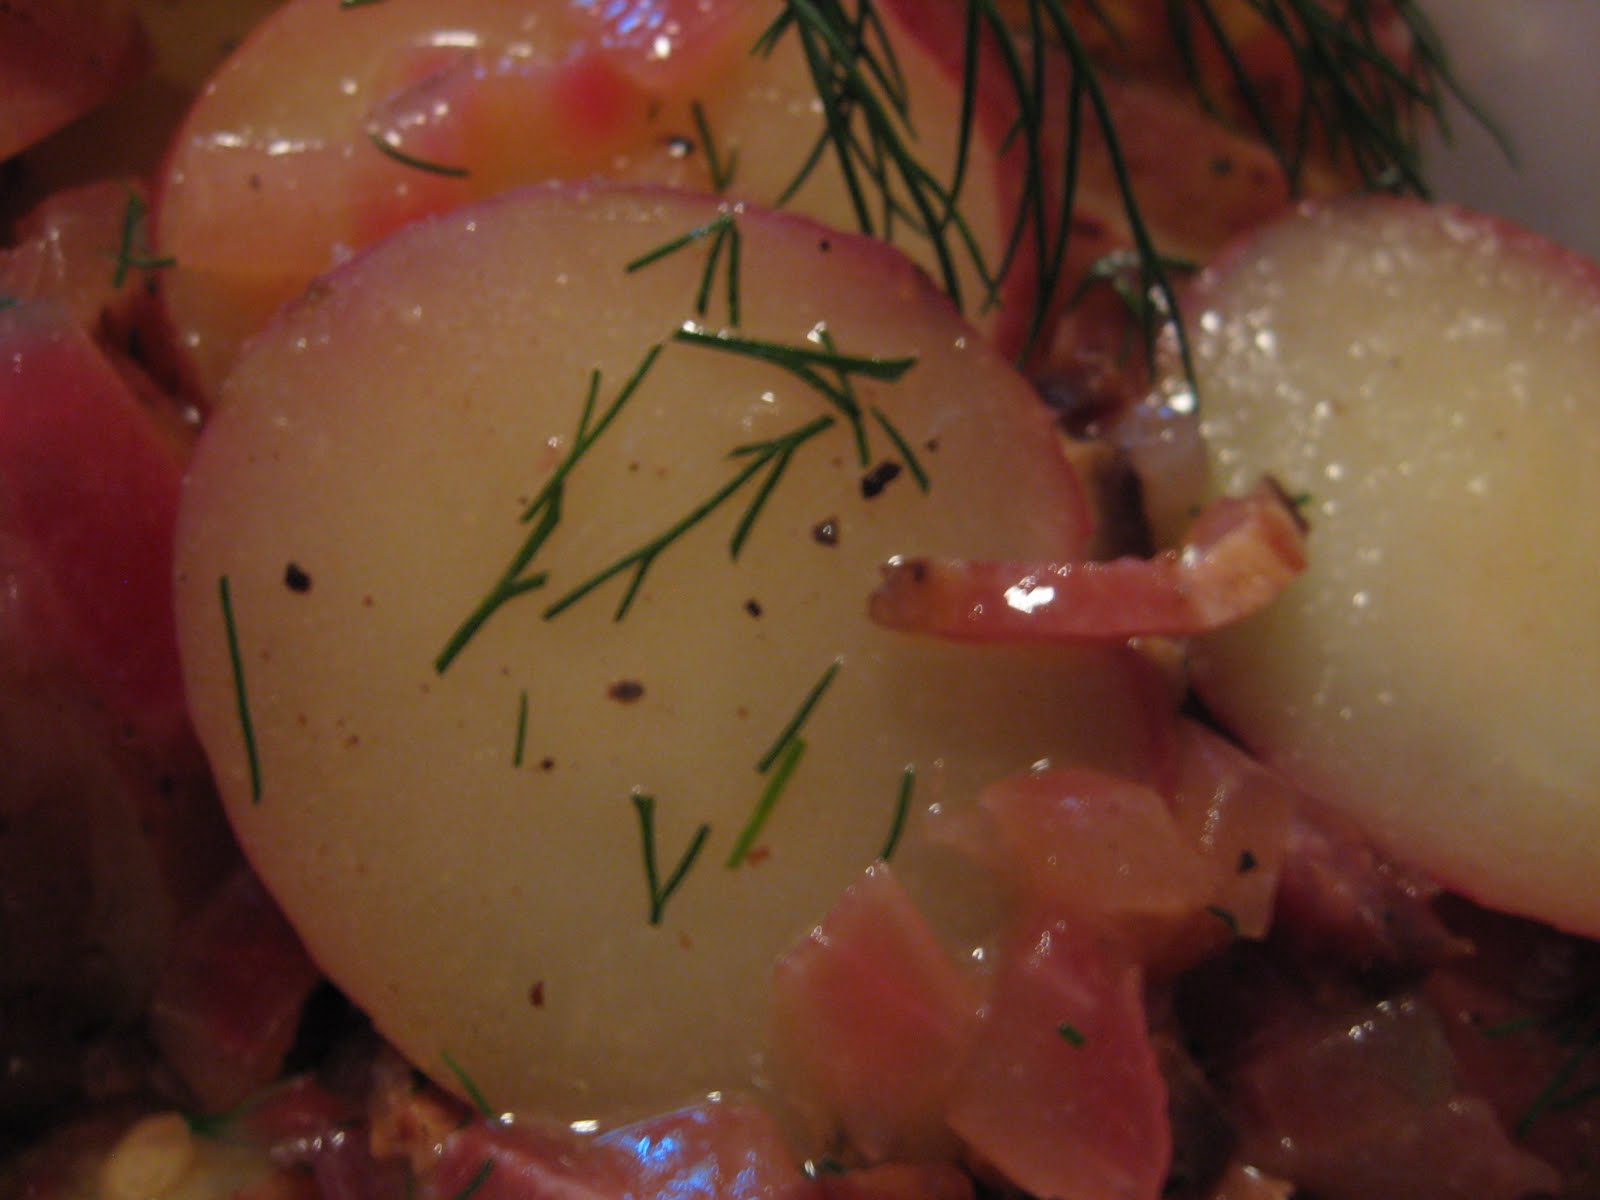
Warm German Potato Salad

recipe adapted from one on the Epicurious website


Ingredients:
1 pounds red potatoes, wash and leave peel on, cut into 1/4" slices
6 bacon slices, cooked and crumbled
1/2 cup red onion, chopped
1/2 cup white wine vinegar (we used red, worked well, too)
3 t. coarse-grained mustard (Dijon-style worked well, too)
2 t. sugar
2 t. salt
1/2 t. pepper
1/4 cup fresh dill, chopped

Instructions:
Wash and slice potatoes, place in steam basket above boiling water for 10 minutes. Chop onions and fresh dill, set aside.

Fry up bacon slices. Resist eating any of the bacon or take precautionary measures, such as frying up a 7th slice for you to snack on to ensure you have enough bacon for the recipe.  (The large pot with steaming potatoes in back was one of our favorite wedding gifts!  The stock pot is huge, but the accompanying steaming basket and pasta basket have been really helpful!)
Once bacon is cooked and cooled, crumble or slice and set aside.
Drain bacon grease, but leave 1-2 T. grease in the pan. Saute the onions in the bacon grease until they get a little see-through.
Add in vinegar, mustard, sugar, salt, pepper. Stir well and cook for a few more minutes, trying to simmer down/reduce some of the mixture.
Combine potatoes and mixture in a bowl. Add in bacon and dill just before serving.

This salad kept for a few days in the fridge. I think the bacon grease cools down and forms sort of a gooey appearance, so be sure to re-heat before serving if you've kept it in the fridge.

Homemade Baby Bibs

While I've managed to find my way around the kitchen, thanks to friends/family who are proficient and experiences in professional kitchens and camp kitchens, I am a sewing novice.  My mom used to make clothes, halloween costumes, home decor, etc. and my mother-in-law could be classified as an "expert," I've only picked up bits and pieces from them; most of my sewing know-how has come from the trial and many-error method.

Sometimes I think I want to get back into sewing, quilting, etc. just for an excuse to walk through fabric stores. The project below, made for my niece/nephew-to-be, was my very first trip into the nursery section of fabrics. The softness of the fabric and the plethora of adorable prints was incredible-- I'm looking forward to having more excuses to buy baby fabrics. (Read: no "excuses" in the form of new additions to our own family for at least a few more years!!) (Knock on wood-- and knock again!!)


Baby Bibs (aka, great, homemade baby shower gifts)

Thin quilt batting material
1-2 coordinating fabrics (for front and back of bib, can be same print, if you want)
coordinating binding
coordinating thread
*an alternative is to just by the "pre-quilted" material and jump straight to attaching the binding*


First, you need to set the mood (really, this is important). Get out all of your sewing stuff-- if you're like me, you're bound to make enough mistakes to need all the tools you own to recover your project. I recommend turning on public radio or putting on a classic 80's movie (trust me, the soundtrack alone will keep you motivated).  Get some salty snacks out, too, cause this is going to take awhile.  Oh, and if you don't have your own garden, find out if you can borrow freshly cut flowers from someone else (thanks mom!) because fragrant flowers never hurt.


Next, cut out a pattern-bib from heavy paper or thinner cardboard. Using your pattern, trace and cut the bib from the batting material and each fabric (or two from one fabric, if the front and back are the same).  (Newborn?  Maybe a little smaller.)


"Build" the bib the way you would a quilt, with right side of fabrics facing out and the batting in the middle of the sandwich.


 Pin the 3 pieces securely in place, with pins along the sides and throughout the middle of the bib.


Begin sewing by basting (like really long stitches) along the top and neckline of the bib.

Change your stitch length from baste stitching to 12 (I'm not sure what all that means, other than that the stitches are closer together and therefore stronger). Start, slowly, stitching an outline around the fabric pattern, beginning at the top of the bib and removing pins only as you need to.  If you're in a hurry, you can use any common quilting line technique such as diagonal lines, crossed lines, waves, etc.


Move your quilting pattern along, from top to bottom of the bib.  These pictures show the progression from the backside of the bib, as it's easier to see the steps.


When you're done with the quilting part, double-check that you've got a baste stitch around the outside of the entire bib. Trim away any edges that need cleaning up along the outside of the bib.


Grab your binding. Starting with the back side of the bib, at the top of one side of the neckline, unfold the binding such that the edges of the binding and back of bib line up. (Pin this all along the edge of the back of the bib, if you are shooting for perfection-- otherwise, fire up that sewing machine and just see what happens.)  Stitch along the first fold in the binding, all the way around the bib. Trim off the binding when you come back around to the neckline.


Now fold the binding around to the front of the bib and stitch the top of the binding in place.


Now you'll follow the same procedure for the neckline. Before sewing, you'll need to determine how long of bib tie strings you want.  The binding extends from both sides of the bib neckline to form the tie strings.

Warning, it was a little frustrating to follow the curve of the neckline without pins. I caved and went for the pins.

Even with pins, it wasn't all that pretty.


Once the neckline of the bib is "binded", you can stitch binding that is the bib tie strings closed, like this.


And you're finished! 


I couldn't resist the lion print, too. (I'm telling you, nursery fabric sections are dangerous!)