Showing posts with label Moosewood. Show all posts

Sunday, October 30, 2011

The Best Veggie Lasagna: Part 2: Lasagna

For those days when you're looking for comfort food but don't want to feel weighed down afterwards. I first used this lasagna on weekend retreats with high school students--many of which were self-identified "meat lovers" and had difficulty comprehending vegetables in lasagna. Even next to a traditional meaty lasagna, this veggie dish held its own among health-conscious vegetarians and high school junk food lovers alike. The only part of the story I won't share?  How I managed to sneak the wine with me on said retreat.

The Best Veggie Lasagna (adapted from Moosewood's "Lighter Lasagne")
2 cups zucchini, cubed
1 cup bell peppers, cubed (optional: nice in that they can add color)
1 cup tomatoes, chopped
1/4 teaspoon salt (optional)
1/3 cup red wine
3 Tbsp fresh basil, chopped
10 ounces fresh spinach, rinsed and ends trimmed
2 cups low-fat cottage cheese
1 cup low-fat mozzarella cheese, shredded
1/4 cup Parmesan cheese, grated
1 recipe Tomato Wine Sauce
1 pound lasagna noodles, uncooked


Preheat oven to 350. Combine zucchini, peppers, tomatoes, salt, and wine in a stock pot. Bring to a boil, cover, and simmer on low for 10 minutes, stirring occasionally. When all veggies are tender, add fresh basil and set aside.  (See what I mean about the color?)

Cover and cook the spinach on high heat for no more than 3 minutes. Remove when wilted but not too soggy and chop after squeezing out as much moisture as possible. Mix with the 3 cheeses and set aside.

Spread 1 cup tomato sauce on bottom of a baking dish. Layer with uncooked noodles, about a cup of cooked veggies, then about a cup of the spinach and cheese, and cover with more noodles.

 Continue layering (sauce, veggies, spinach and cheese, noodles) until you near the top of your baking dish. Be sure to end with sauce and/or veggies so that there is liquid on top of the last layer of noodles (otherwise they'll turn to burnt chips in the oven).

 Cover with foil and bake about an hour until top noodles are tender and bubbles appear at the edges. Remove and allow to sit for 10-15 minutes before slicing.


The Best Veggie Lasagna: Part 1: Tomato Wine Sauce

There are hundreds of delicious tomato-based sauces intended for use in pasta dishes. I have three or four favorites-- including this simple sauce from the brilliant folks out east at the Moosewood Restaurant. I have only used the sauce in Moosewood's Veggie Lasagna, so I cannot vouch for its flavor as a simple spaghetti sauce. What I can tell you is this: once you've paired this sauce with the amazing Veggie Lasagna recipe from Moosewood, you'll never try another combo of sauce to lasagna. Simply the best!

Tomato Wine Sauce, adapted from Moosewood 
2 teaspoons olive oil
1 cup white onions, chopped (my trick is to light a candle!)
2+ garlic cloves, chopped (4-5 cloves is better)
1/4 teaspoon salt (not necessary, if you're cutting sodium leave it out entirely)
2 teaspoons fennel seed, ground
1 teaspoon dried basil (better with fresh basil)
1 teaspoon dried oregano
1/3 cup red wine
3 cups (1-28 ounce can) tomatoes, undrained and lightly blended/pureed
(optional: tomato paste (to thicken, add before simmering), salt and pepper to taste)


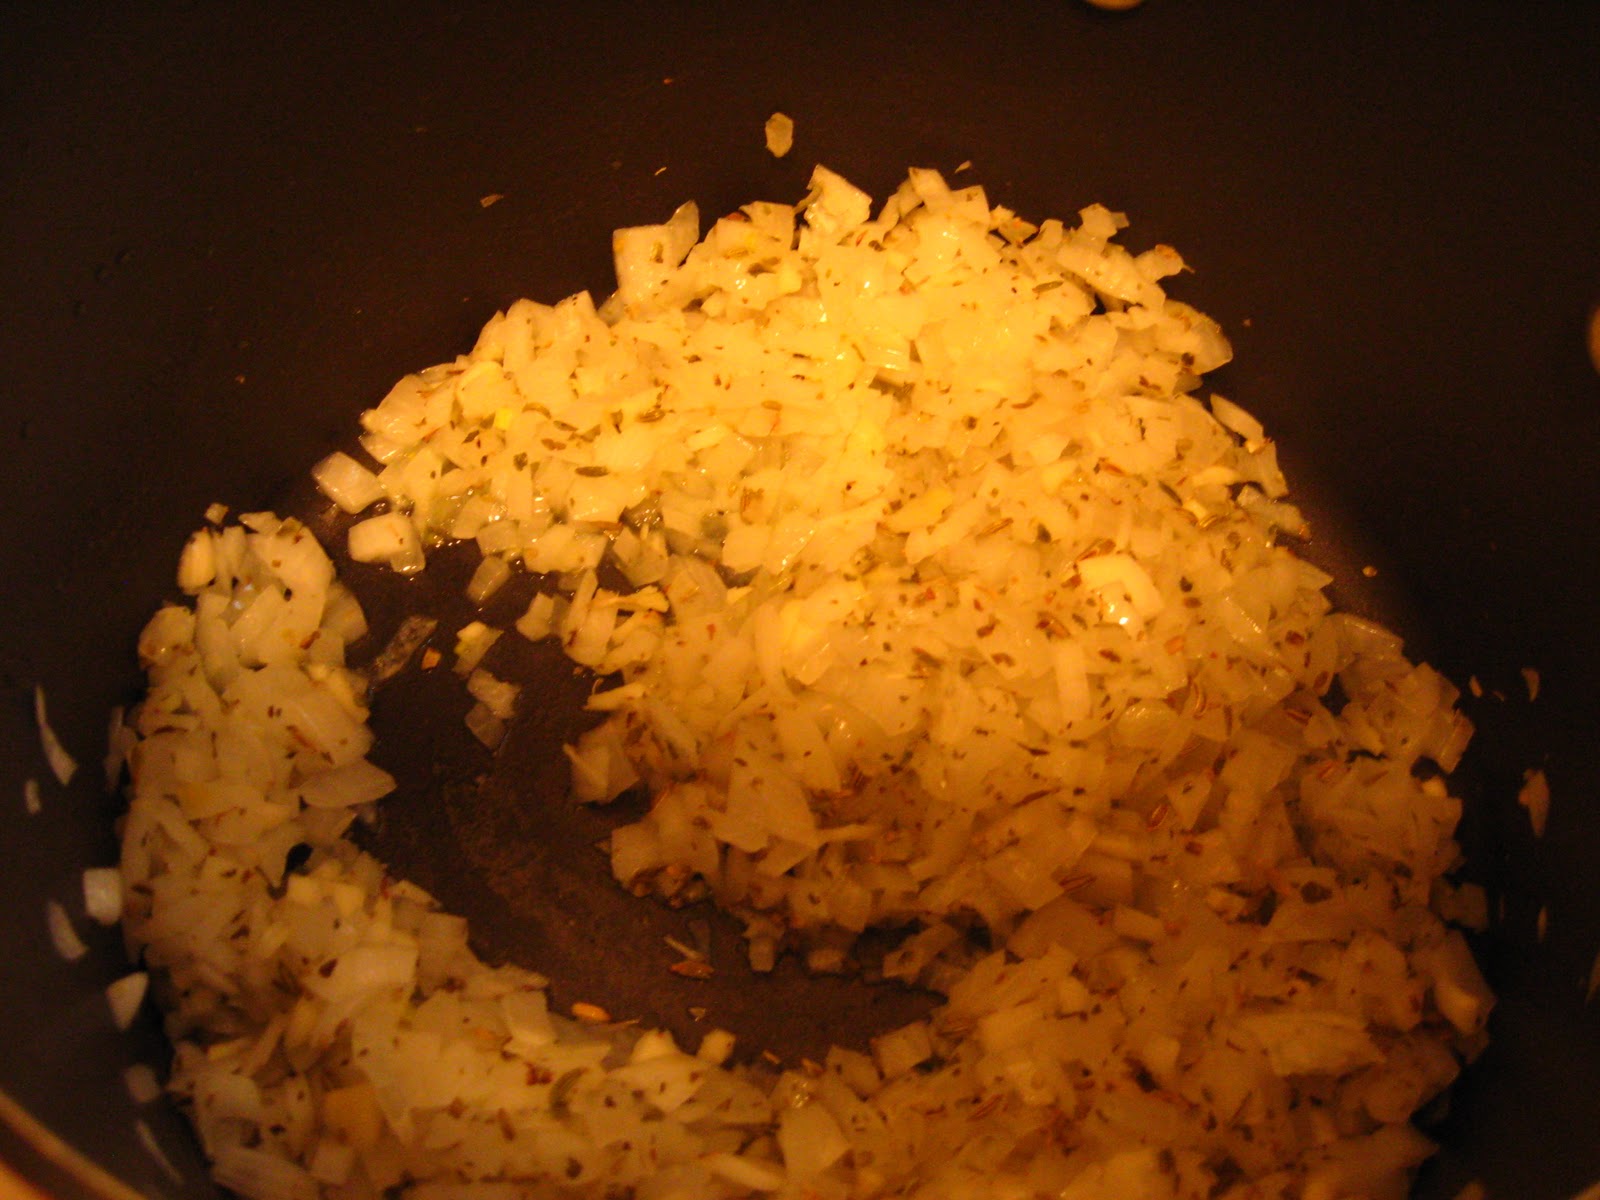
Heat olive oil over medium heat. Add onions and garlic. Saute on low until soft, 5-7 minutes.


Add herbs* and cook for another minute or so. Add red wine and bring mixture to a boil. Add pureed tomatoes. Cover and simmer for 20 minutes, stirring occasionally. For thicker sauce, take cover off and continue simmering until sauce reaches your desired consistency.


If you're using fresh basil, add after the sauce has simmered for 20 minutes. Rule of thumb: if using dry herbs, add early enough for them to release flavor; if using fresh herbs, add towards the end of cooking so as not to lose all flavor.

Tuesday, August 2, 2011

Basil Pesto, a la Moosewood and the Minneapolis Farmer's Market

While my husband and I adore the little, old apartment we happened upon in South Minneapolis, we have mourned the loss of our backyard garden. Thankfully, our first trip to the Minneapolis Farmer's Market offered a worthy substitute.  While nothing quite compares to homemade basil from hand-picked plants in your own backyard, paying $1 per generous bunch from kind, local farmers provides a close second.  I think the Farmer's Market may be a more cost-effective way of obtaining fresh basil.

The $1 basil bunches were delicious in our favorite basil pesto recipe, altered slightly from the New Moosewood Cookbook.
 Ingredients
3 (packed) cups worth of fresh basil leaves (roughly 1 1/2 bunches from Minn. Farmer's Market)
5 cloves garlic
1/3 cup lightly toasted walnuts (much cheaper than their friends, the pine nuts)
1/3 cup olive oil
1/3 cup parmesan (Kraft brand shredded parmesan works better than the powdered stuff and is cheaper than the fancier brands.)
Salt and Pepper to taste

Instructions
Begin by gathering and cleaning your garlic cloves.


Garlic is, by far, the easiest thing I've attempted to grow; simply plant individual cloves in fall, just before the ground freezes, then water a couple of times in spring as the sprouts shoot up.  The garlic is ready to pull when it's top green tips start to brown. You can dry and store garlic as it is when you pull it out of the ground or, with just a little stem-soaking and braiding, hang dried bunches in your kitchen as decorations until dinner calls for more flavor!

When I'm smart enough to remember, it works really well to toast the walnuts while preparing garlic as both activities require about the same amount of time. Walnuts go on a cookie sheet in a 350 degree oven for about 8-10 minutes. The best walnut-toasting advice I've heard?  "Your kitchen will smell like toasted nuts when they're ready."  From experience, I've also learned that your kitchen will smell like burnt nuts if you don't pull the walnuts out after about 10 minutes...
Next, to prepare the basil leaves. You'll want to wash and dry the leaves carefully and thoroughly (trust me, the teeth-crunching feel of dirt or sand in your pesto kind of ruins the meal). Be sure to pinch off the leaves right at the stems. Also be on the lookout for the flowering tops-- you won't want to use those.

Have you noticed a smell of lightly toasted walnuts?  Perfect, pull those guys out and let them cool on a paper towel. (I don't know the reasoning behind using paper towels for cooling toasted nuts, but I have heard of that technique from a few different sources.)

 Now your basil leaves and garlic cloves head into the food processor (or blender).


Blend until you don't see big chunks of basil leaf, then add toasted walnuts.


When things are looking pretty consistently-blended, but not over-blended, keep the processor running while slowly drizzling in the oil.

Relocate the mixture into a mixing bowl, add salt and pepper and parmesan cheese with a spoon.


Ta-da!  Homemade, delicious basil pesto at a fraction of the cost you'd pay for the over-salted stuff from the grocery store.  Basil pesto can keep for over a week in the fridge (it'll stay green longer if you pour a shallow covering of olive oil over the top before covering the container) or frozen for later use in the winter. Also, some smart person somewhere thought of freezing pesto in ice cube trays, for individual serving sizes or to drop into soups or sauces without having to break a piece off from a larger frozen chunk.

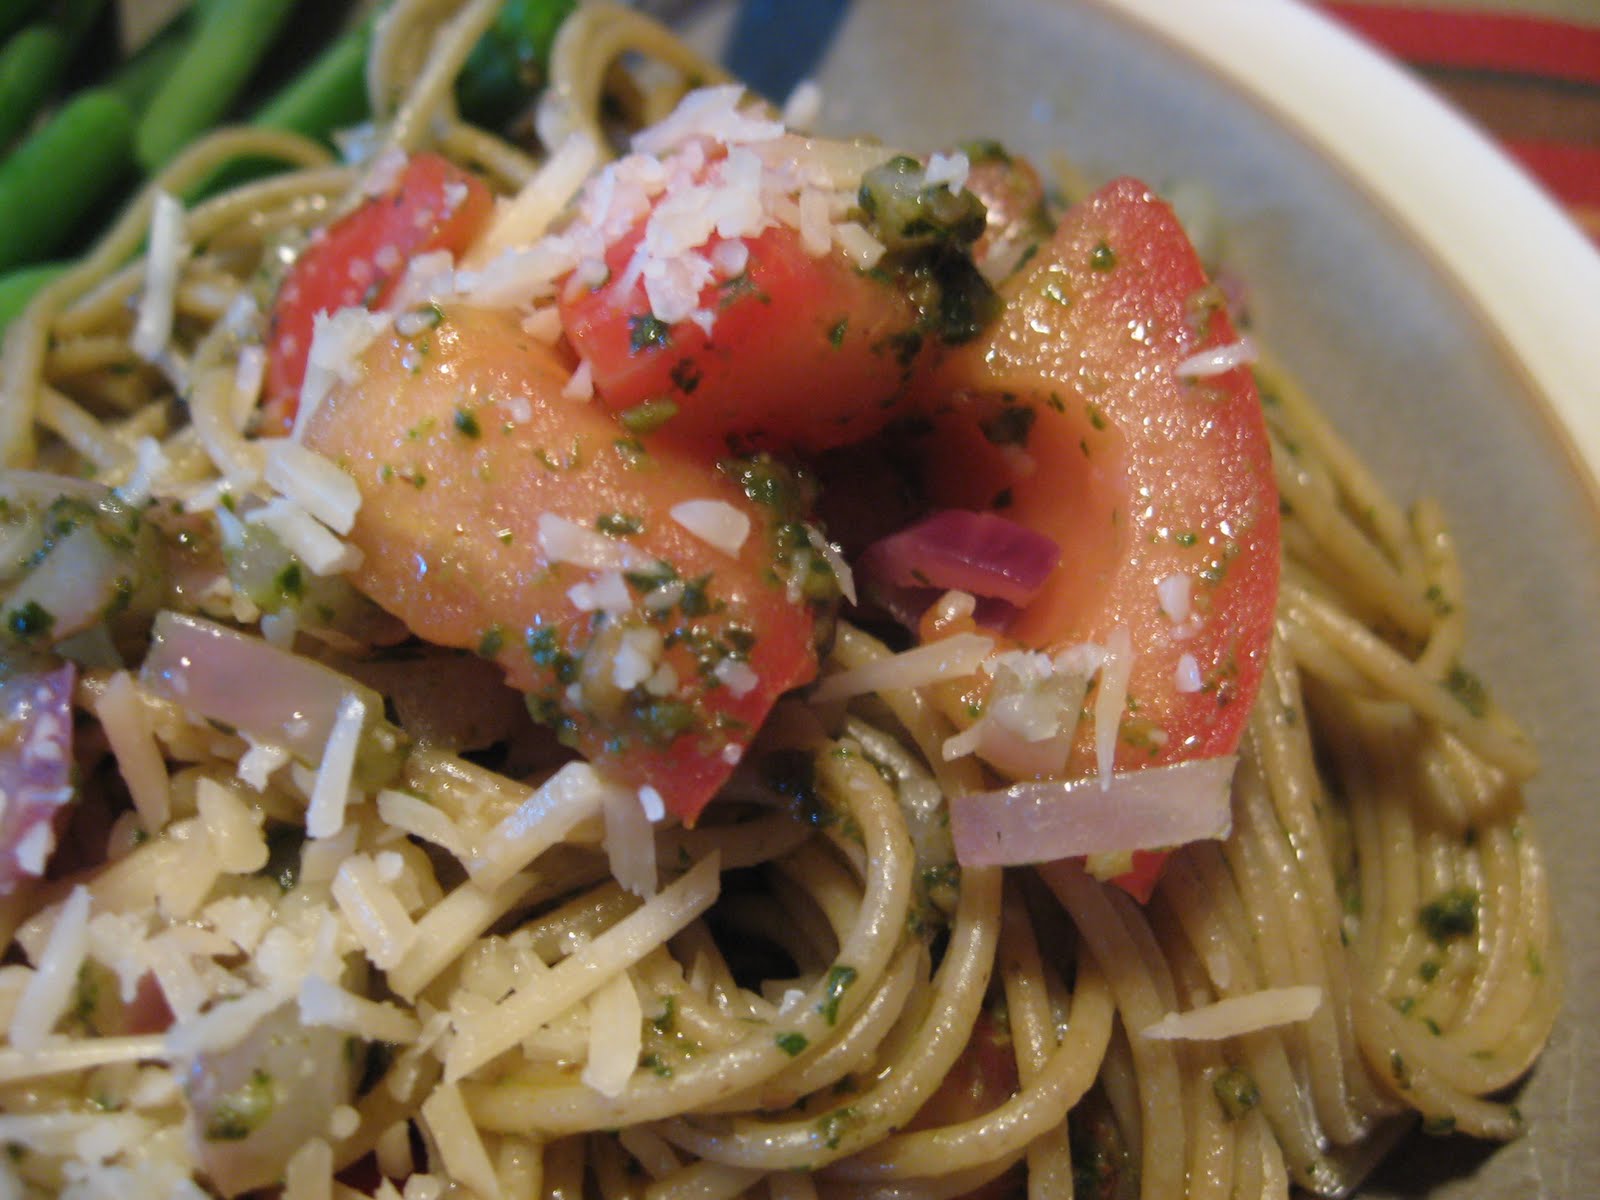
Pesto, fresh or frozen can be used as pizza sauce, sauce to spice up cooked veggies, used to flavor soups, or *my favorite* added to cooked pasta. Add onions and tomatoes for a delicious, easy dinner!